User Guide
A complete guide to the Naviget Medical Imaging Platform for Clinic Staff & Sales Engineers
Step 1
Step 1
Before you begin, make sure you have:
- A modern web browser (Chrome, Edge, or Safari)
- DICOM files or a sample patient folder ready to upload
- A stable internet connection
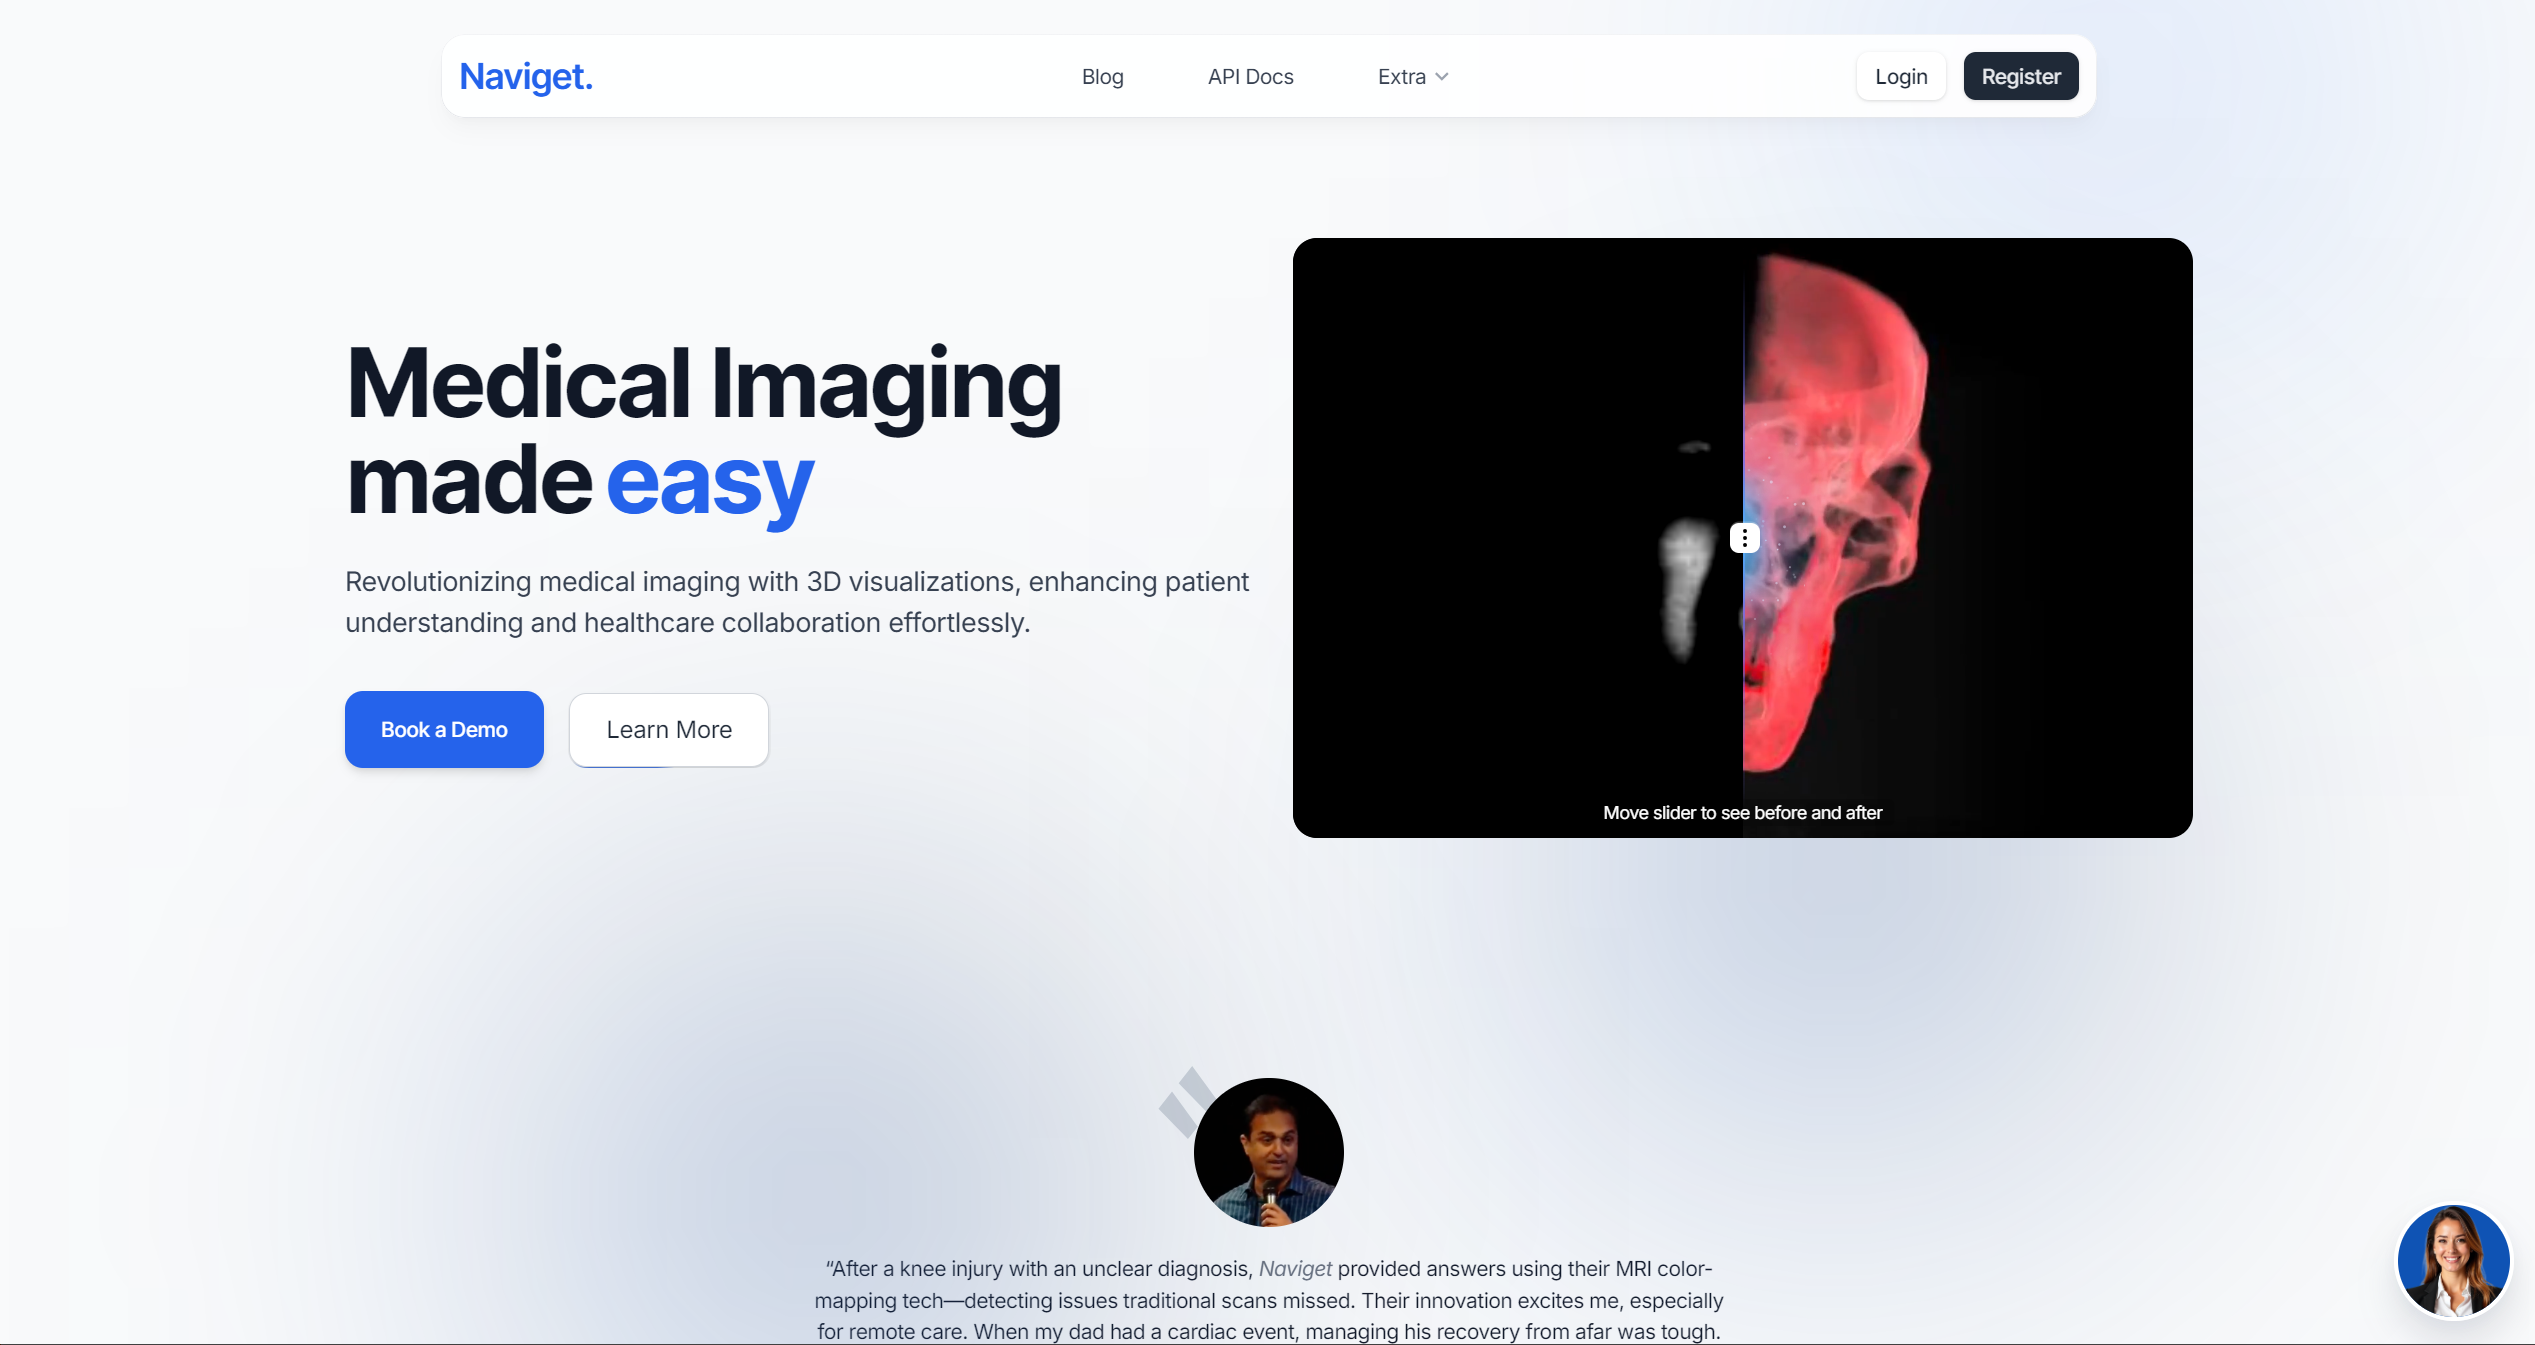
Open your browser and navigate to naviget.com. If you don't have an account yet, click "Start free trial" to create one in minutes (see Step 2).
- Two-Factor Authentication (2FA): For security, a 6-digit code can be sent to your email upon login. After a password reset, 2FA is automatically skipped on your first login for a seamless experience.
- Password Reset: Use the "Forgot?" link on the login page if needed.
- Invitations: Team members can join via a secure email link sent by your administrator.
Step 2
Step 2
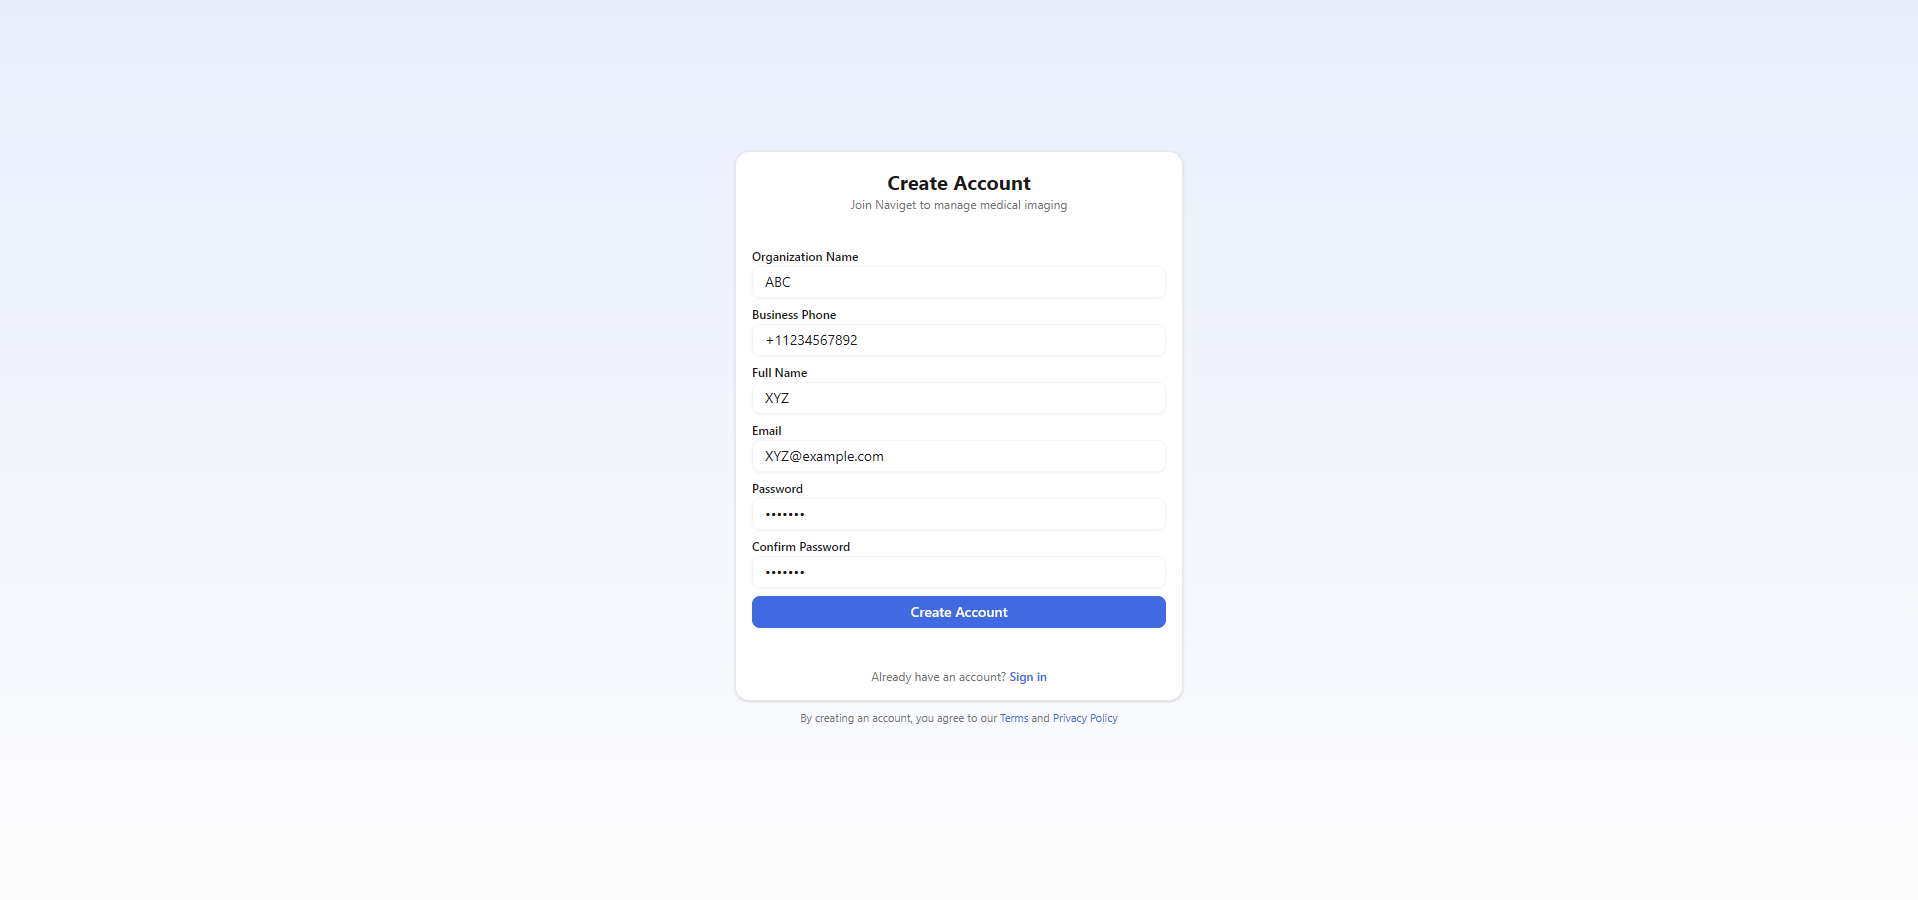
Getting started with Naviget is simple — 7 days free, no credit card required:
- Click "Start free trial" on the Naviget website
- Fill in the sign-up form: Organization Name, Business Phone, Your Name, Work Email, Password
- Click "Create free account" to submit
- Verify your email via the link we send you
- Sign in and start uploading studies right away
- When you're ready, upgrade to a paid plan and your team is moved to its own isolated environment
| Field | Description |
|---|---|
| Organization Name | Your hospital, clinic, or practice name |
| Business Phone | Organization contact number |
| Your Full Name | Account owner name |
| Work Email | Your professional email — used to sign in |
| Password | A strong password for your account |
Step 3
Step 3
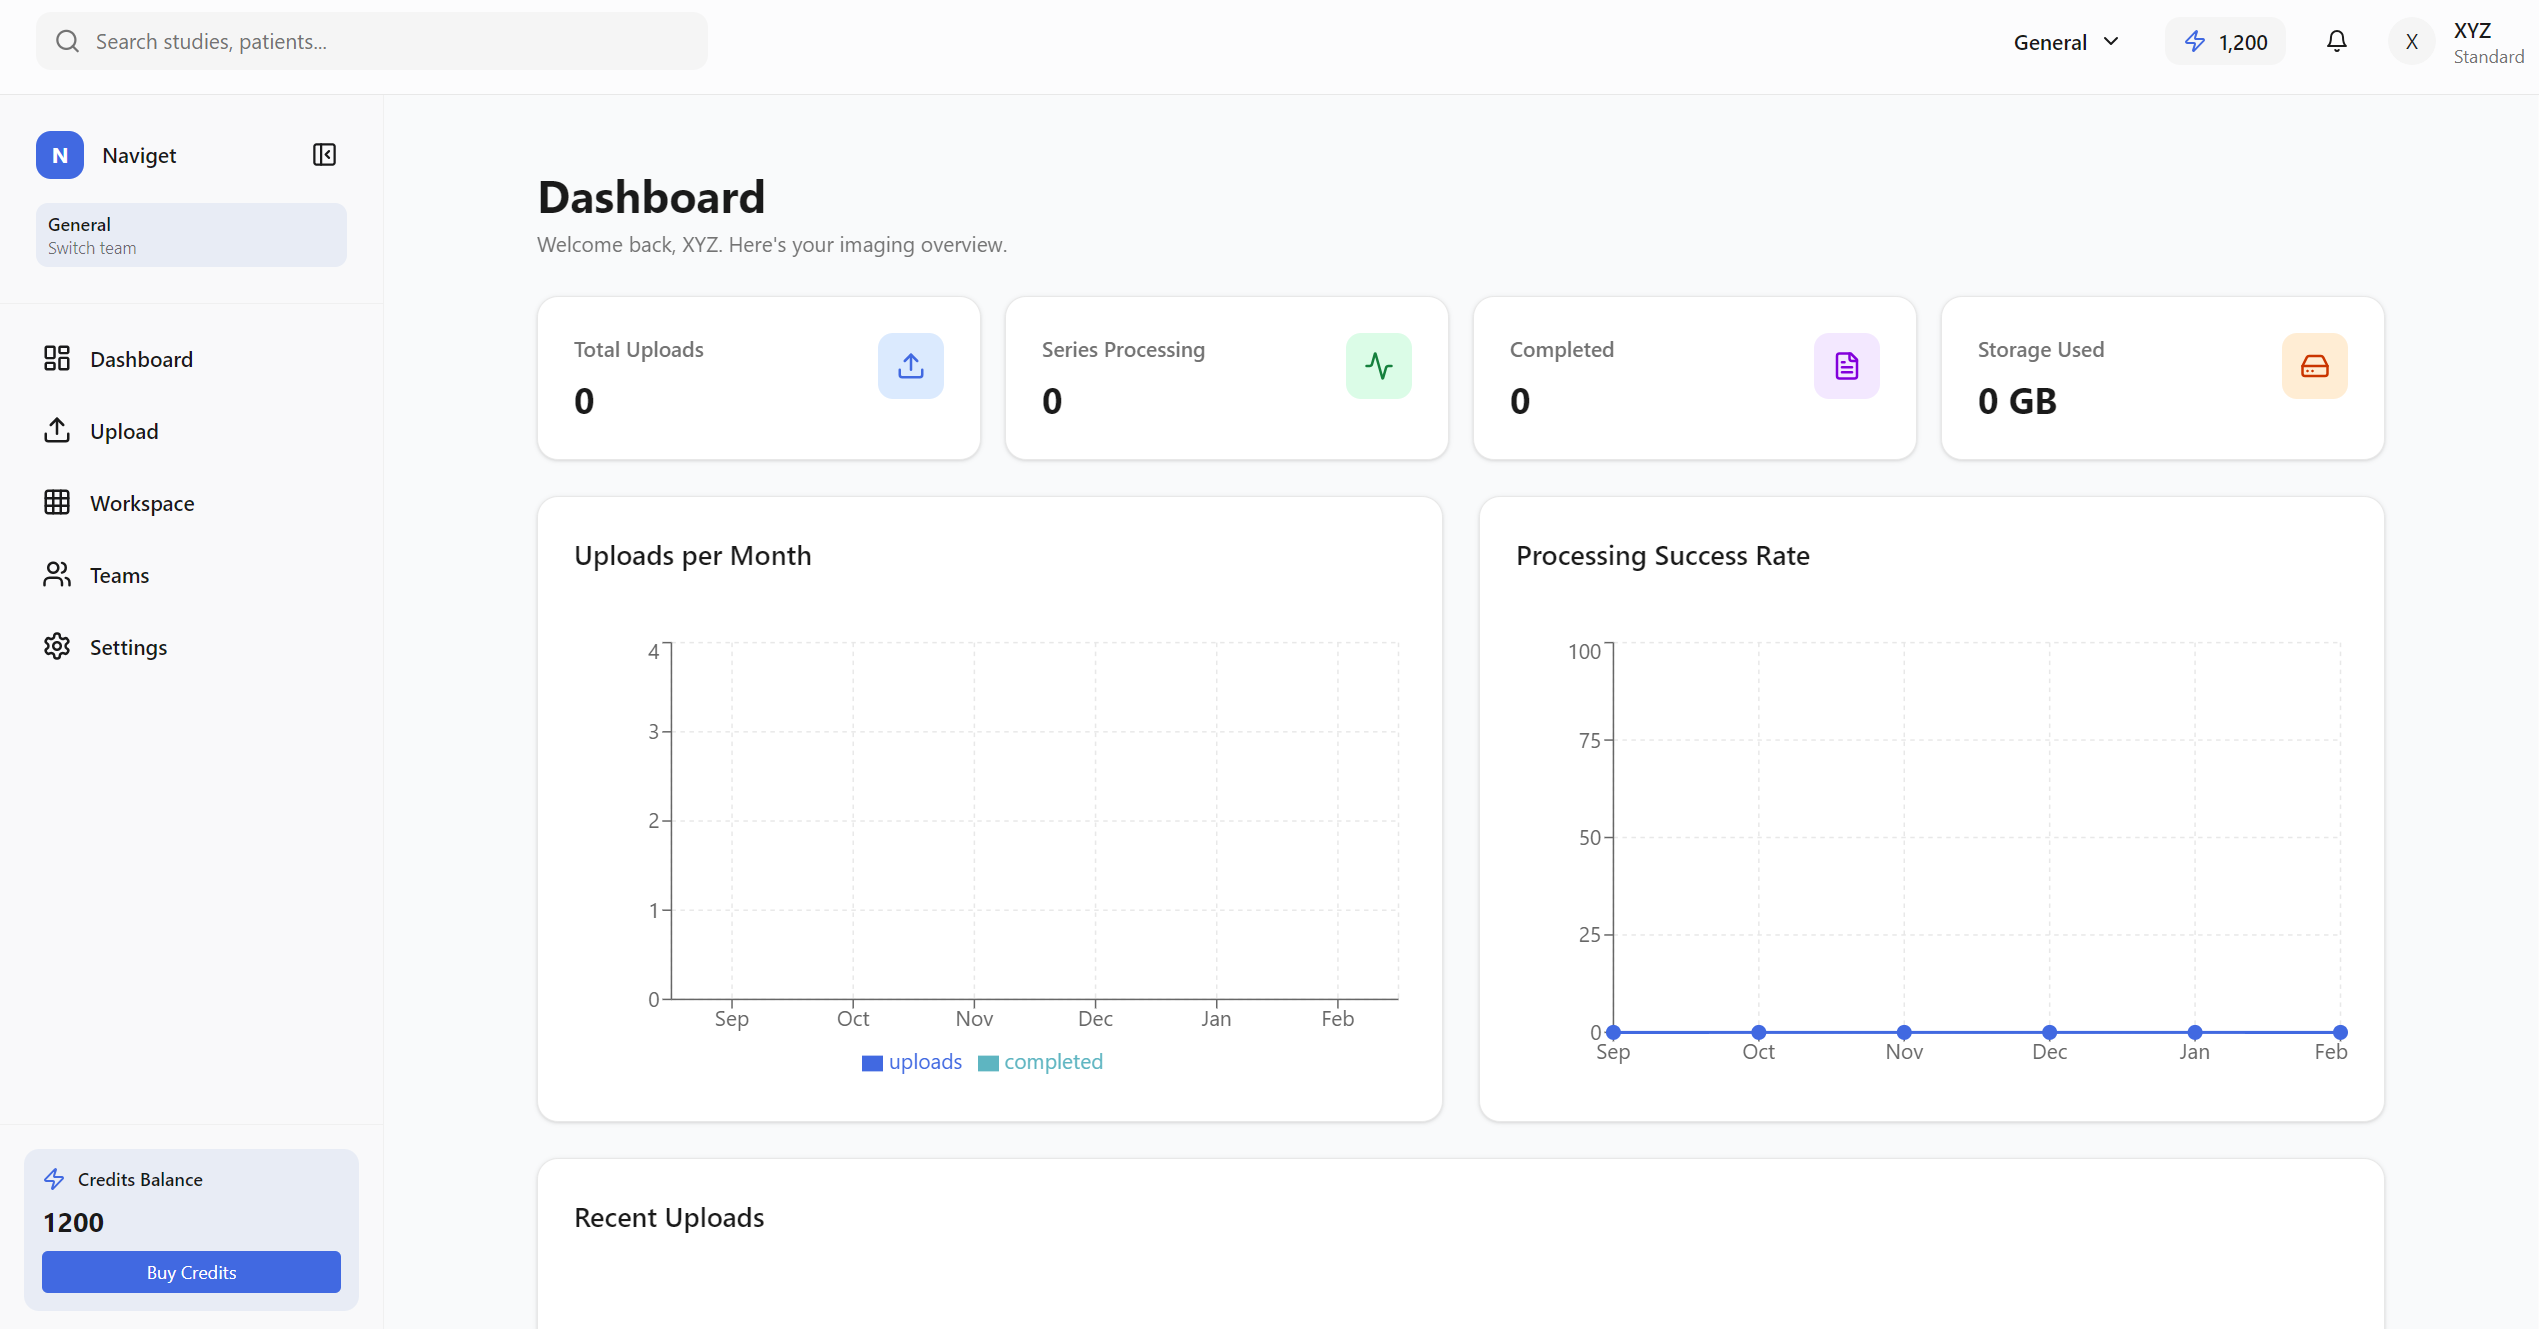
Once logged in, the dashboard gives you an overview of activity and quick access to all platform features.
| Section | Purpose |
|---|---|
| Stat Cards | Total Uploads, Series Processing, Completed, Storage Used |
| Charts | Uploads per Month & Processing Success Rate |
| Recent Uploads | Latest uploads with patient, scan type, status, and date |
- Global Search: Use Ctrl+K to find patients instantly.
- Notifications: Alerts for processing completion and team invitations.
- Analytics: View uploads per month and processing success rates.
Navigate to Workspace: Click "Workspace" in the sidebar to begin.
Step 4
Step 4
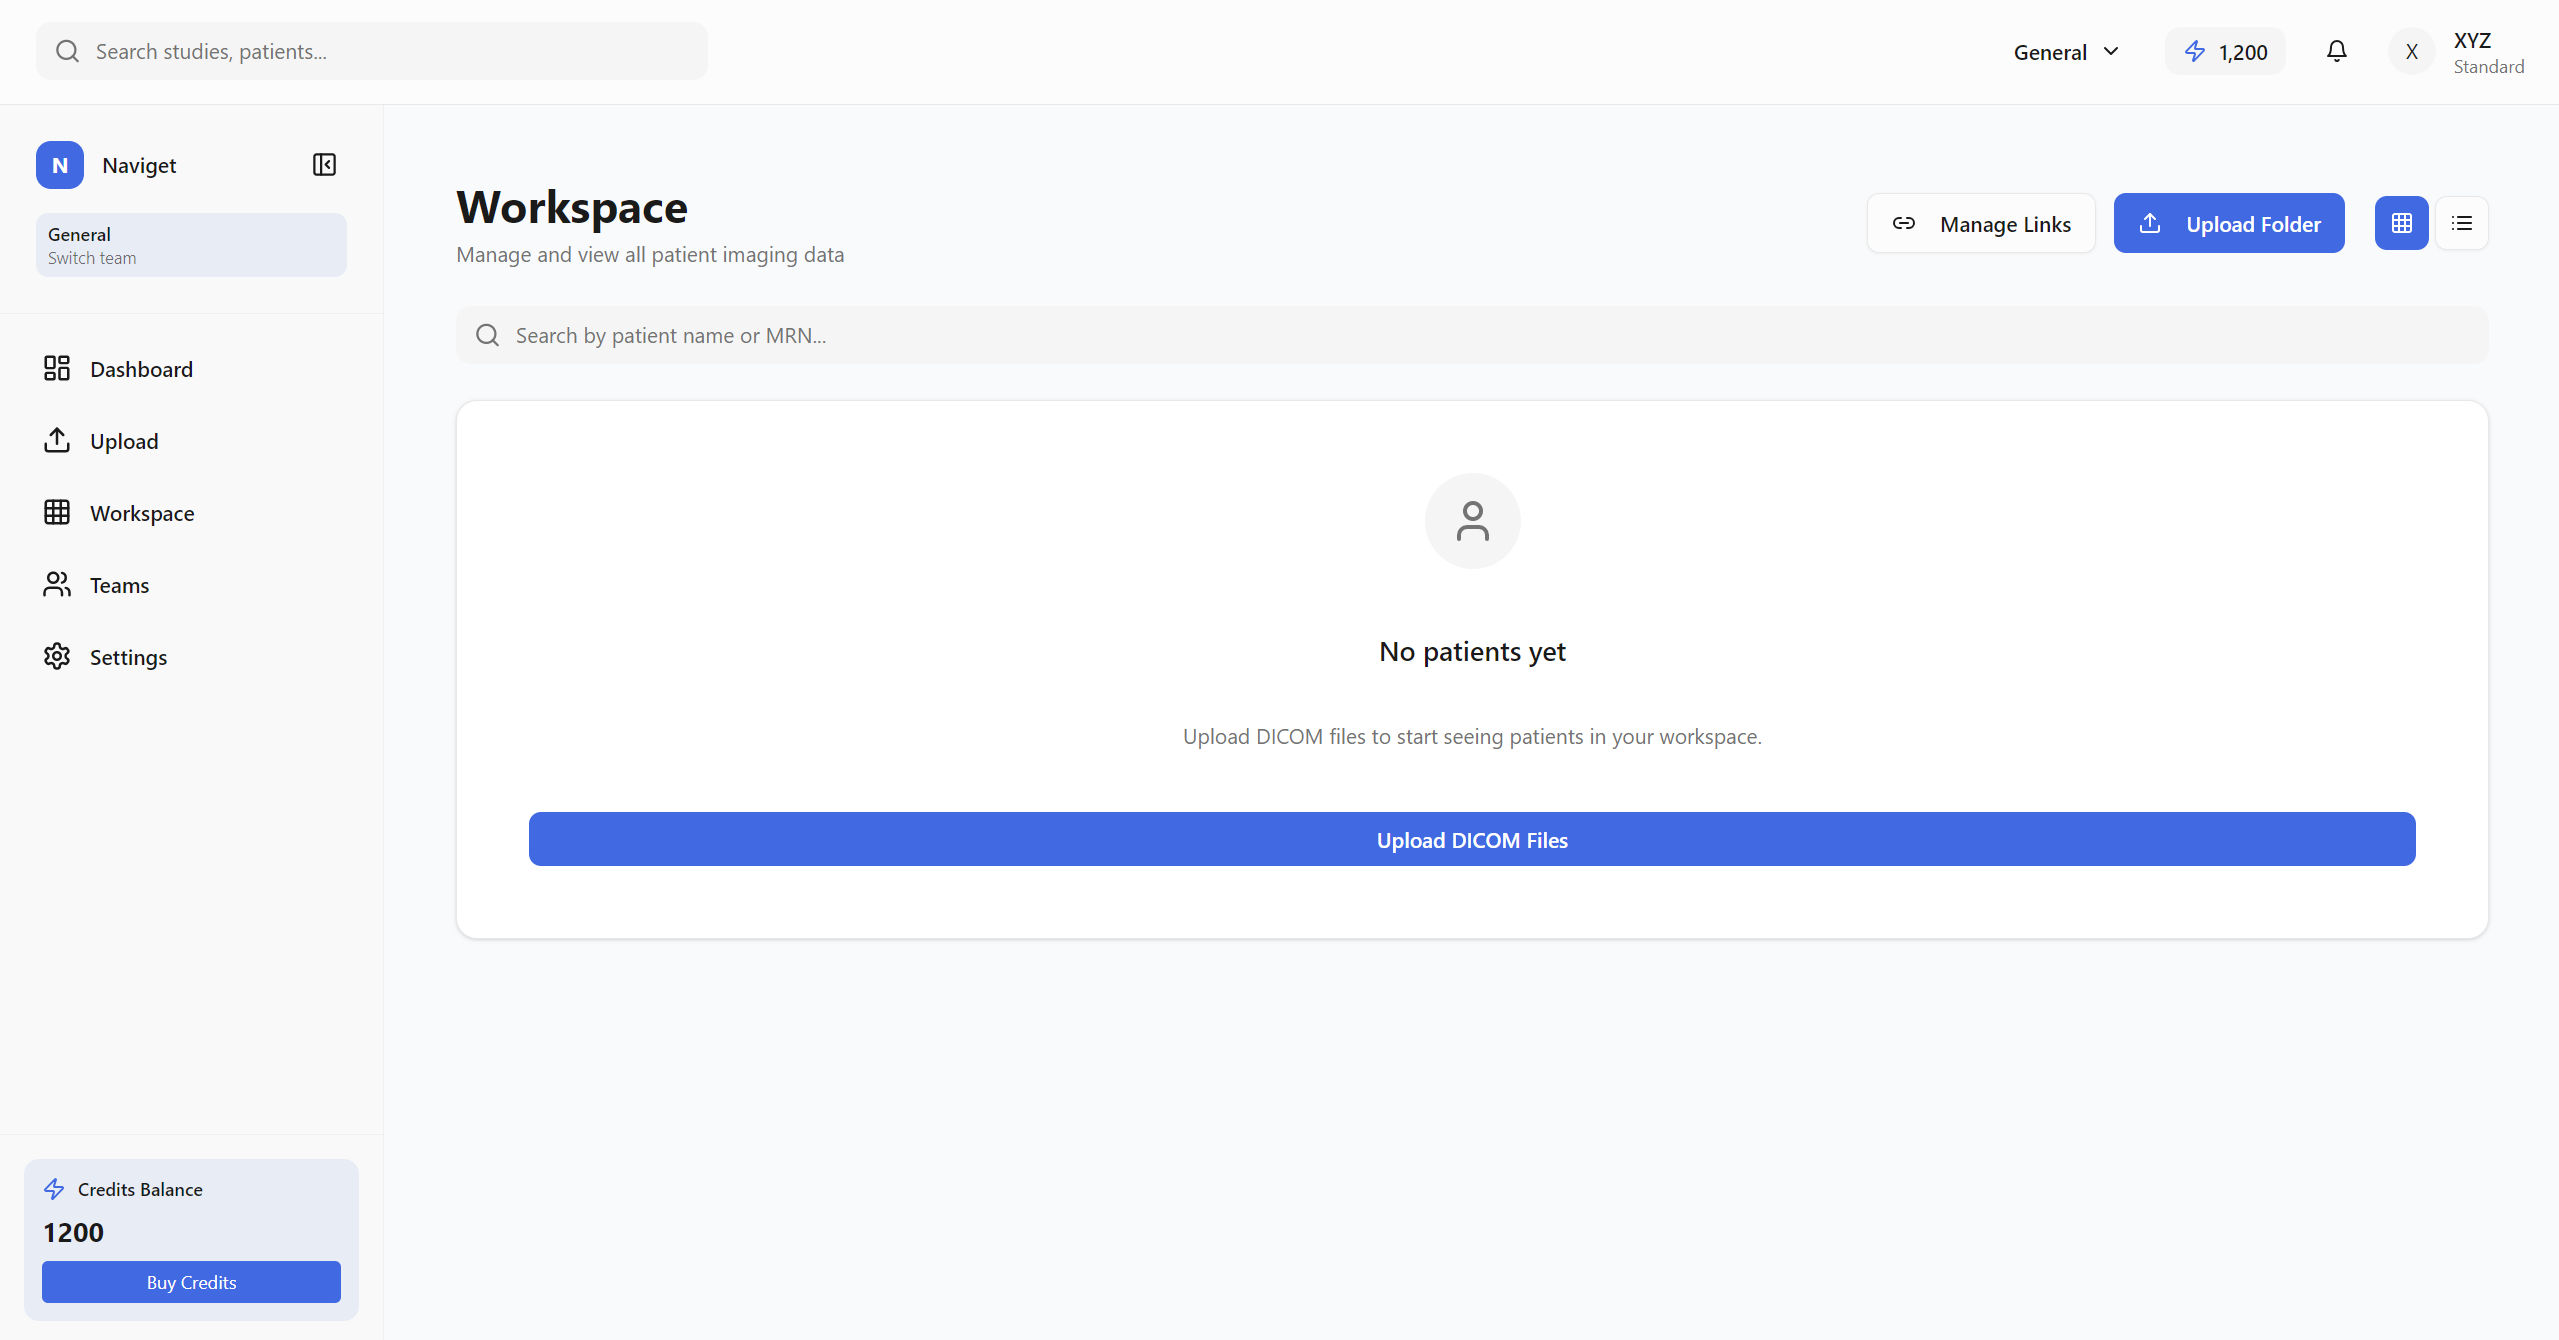
The Workspace is the central hub for managing all patient data.
Estimated Time: 1–3 minutes
- Click "Upload Folder" (top-right)
- Drag and Drop folder OR Browse to select
- Auto Metadata Extraction: System detects DICOM files automatically
- Duplicate Detection: System warns if the study or series already exists.
- DICOM Format: Supports .dcm, .dicom, and extensionless medical files.
Step 5
Step 5
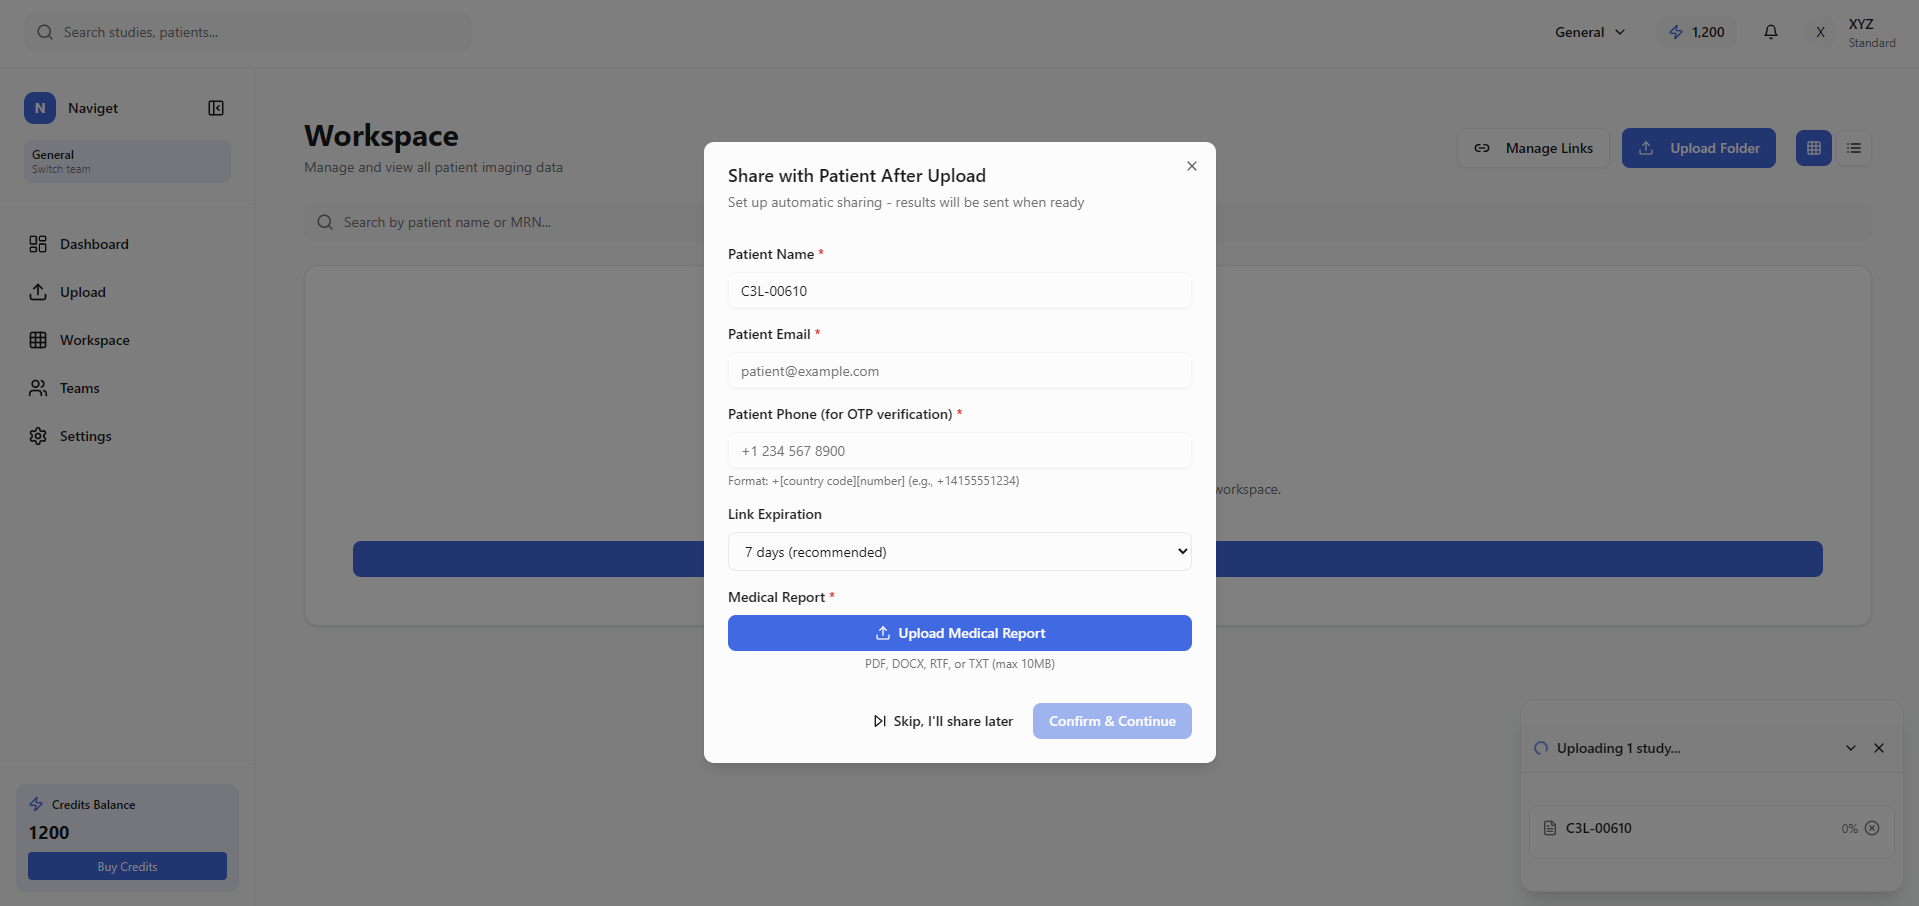
Immediately after metadata extraction, a modal appears to set up sharing before upload completes.
| Field | Description |
|---|---|
| Patient Name | Pre-filled from DICOM; Editable |
| For share link notification | |
| Phone | Required for OTP (E.164 format) |
| Expiry | Length of link validity (7, 14, 30 days) |
| Report | PDF, DOCX, etc. (Max 10MB) |
💡 Demo Tip: Auto-share is the fastest way to get results to patients.
Step 6
Step 6
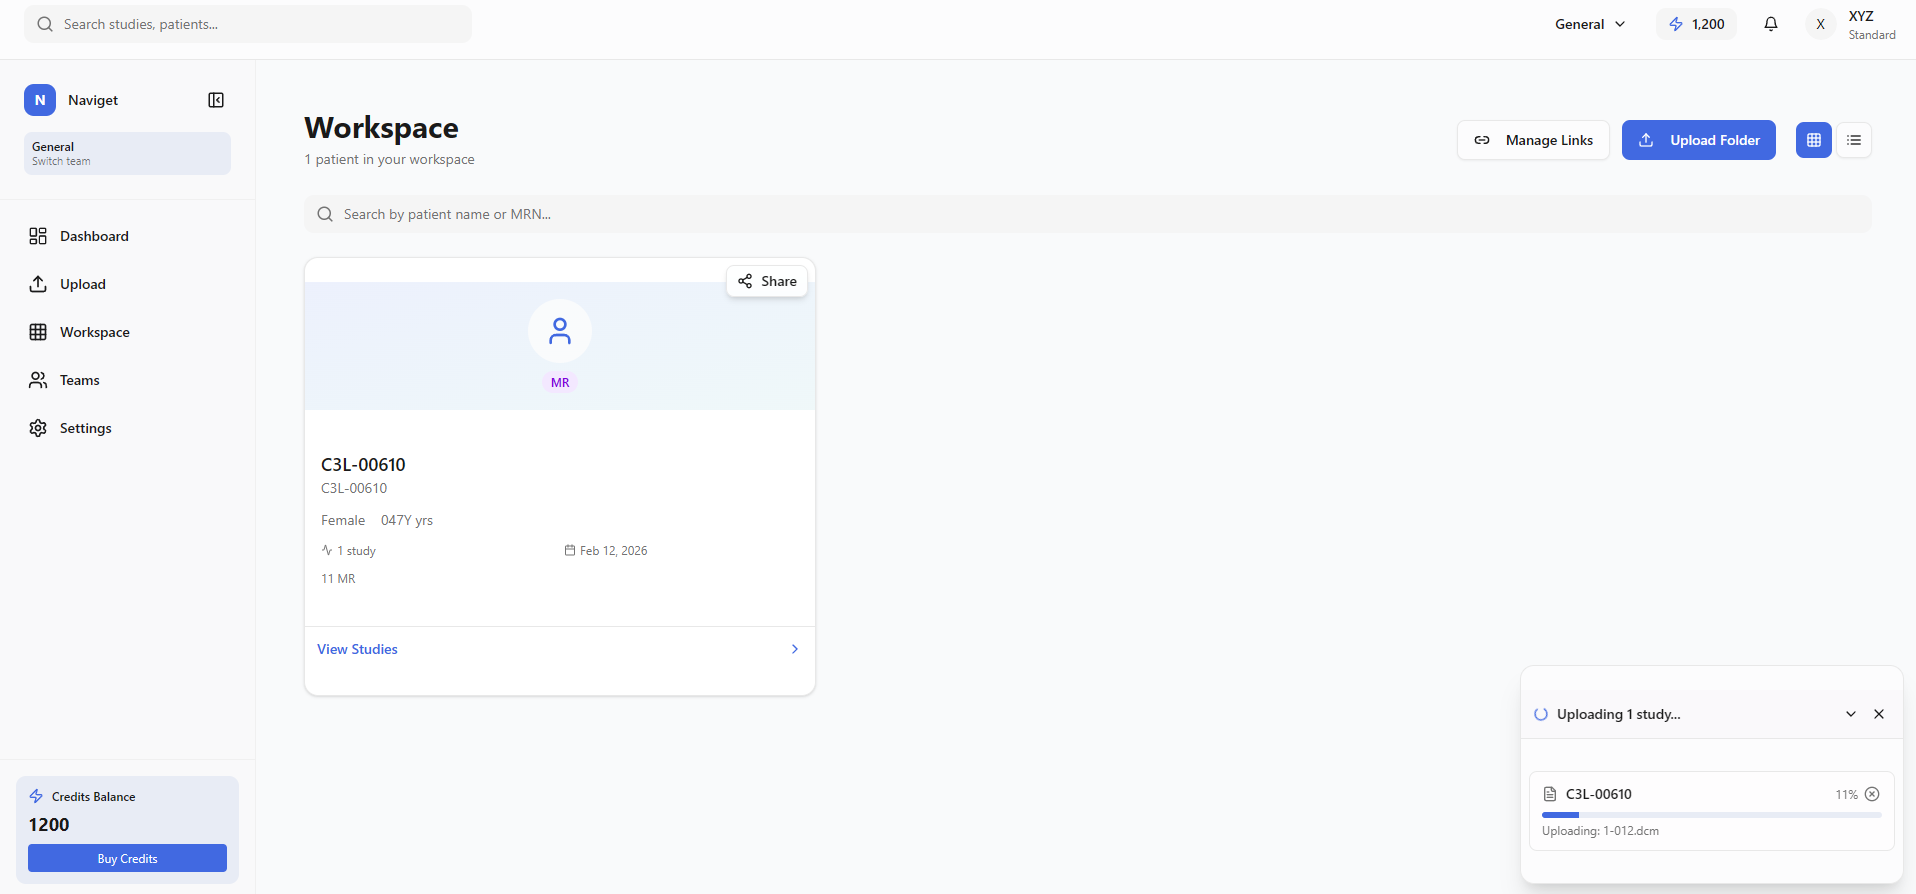
The floating progress widget shows status across the platform:
- Analyzing: Extracting DICOM metadata
- Awaiting Share: Waiting for user input
- Uploading: Transferring medical data
- Complete: Patient added to workspace
- Error: Failed (Retry option)
The patient row in the workspace table displays: Patient Name, MRN, Sex/Age, Modality Badges, number of studies, and last upload date.
✅ The patient row appears in your workspace within seconds of upload completion.
Step 7
Step 7
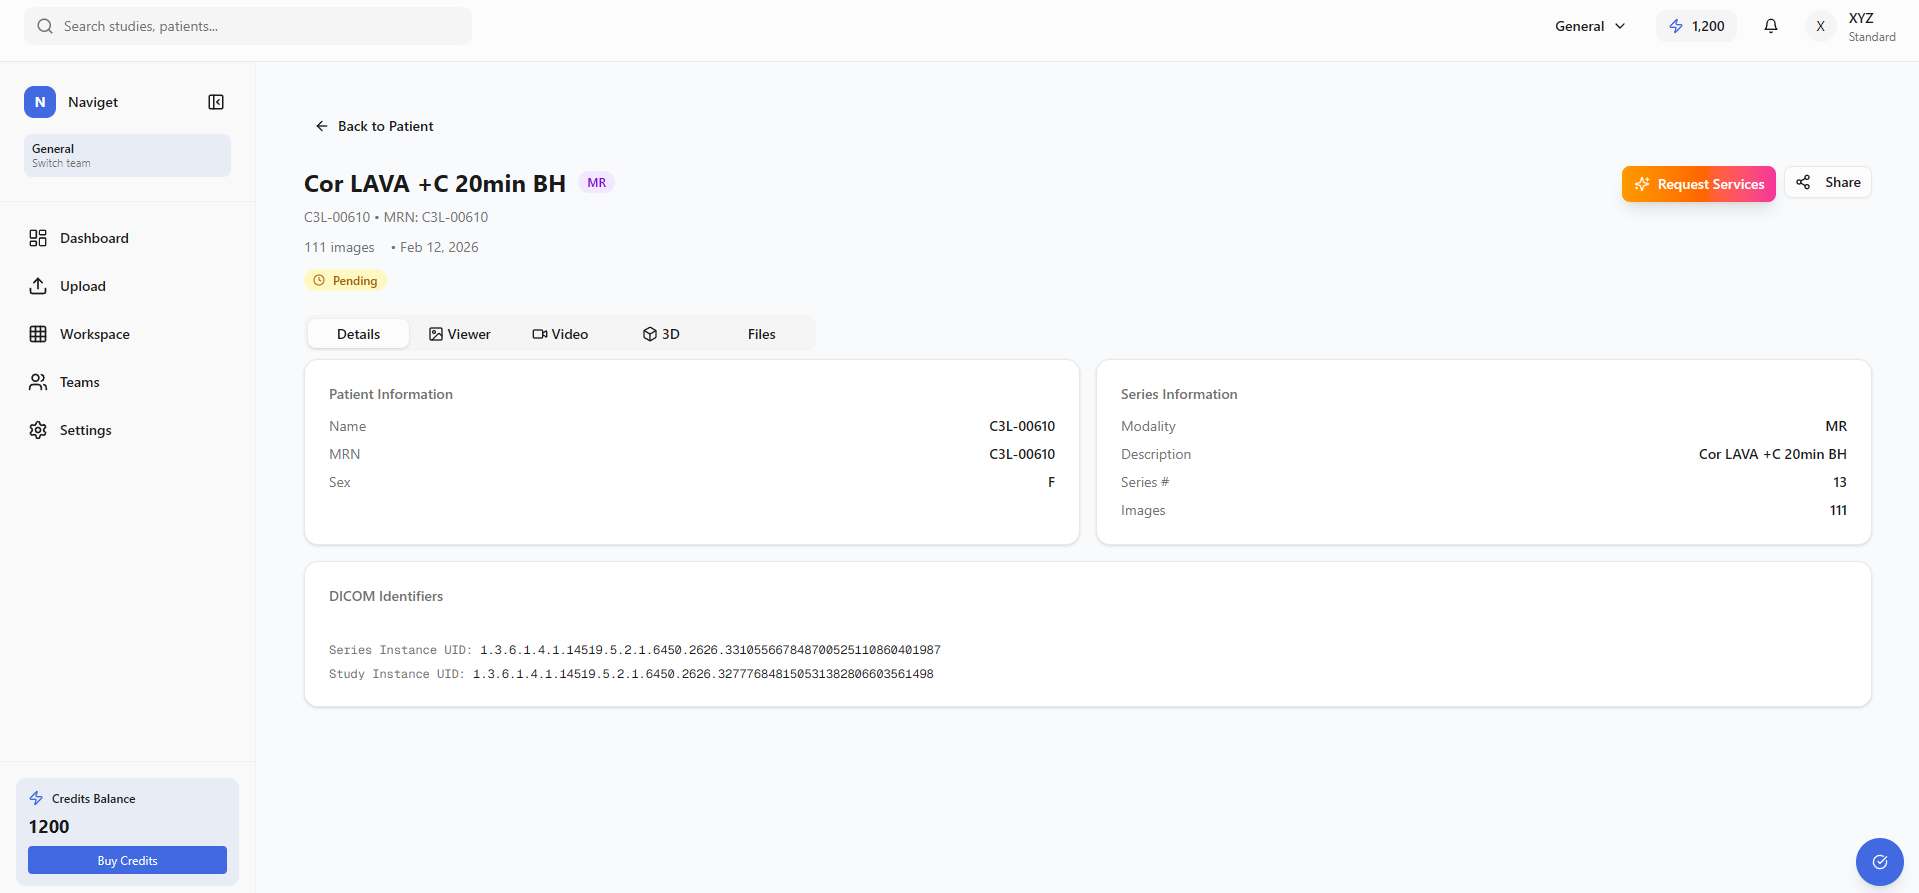
Clicking a patient row in the workspace opens the full-screen medical image viewer. The left sidebar shows all studies and series with thumbnails and modality badges.
- DICOM: Clinical-grade interactive DICOM viewer
- 3D Video: 3D Flythroughs
- Narrated: 3D Flythroughs & AI-narrated videos
- 3D: Interactive model explorer
- Files: DICOM downloads
⚡ Request services: Click the gradient button on the series card.
Major Tool Groups
- Interaction: Window/Level, Pan, Zoom
- Measurement: Length, Angle, Bidirectional
- ROI: Ellipse, Rectangle, Freehand
- Annotation: Arrow, Probe, Magnify
Keyboard Shortcuts
- Arrow Keys: Navigate slices
- Space: Play/Pause auto-scroll
- R: Reset view
- +/-: Zoom in/out
Step 8
Step 8
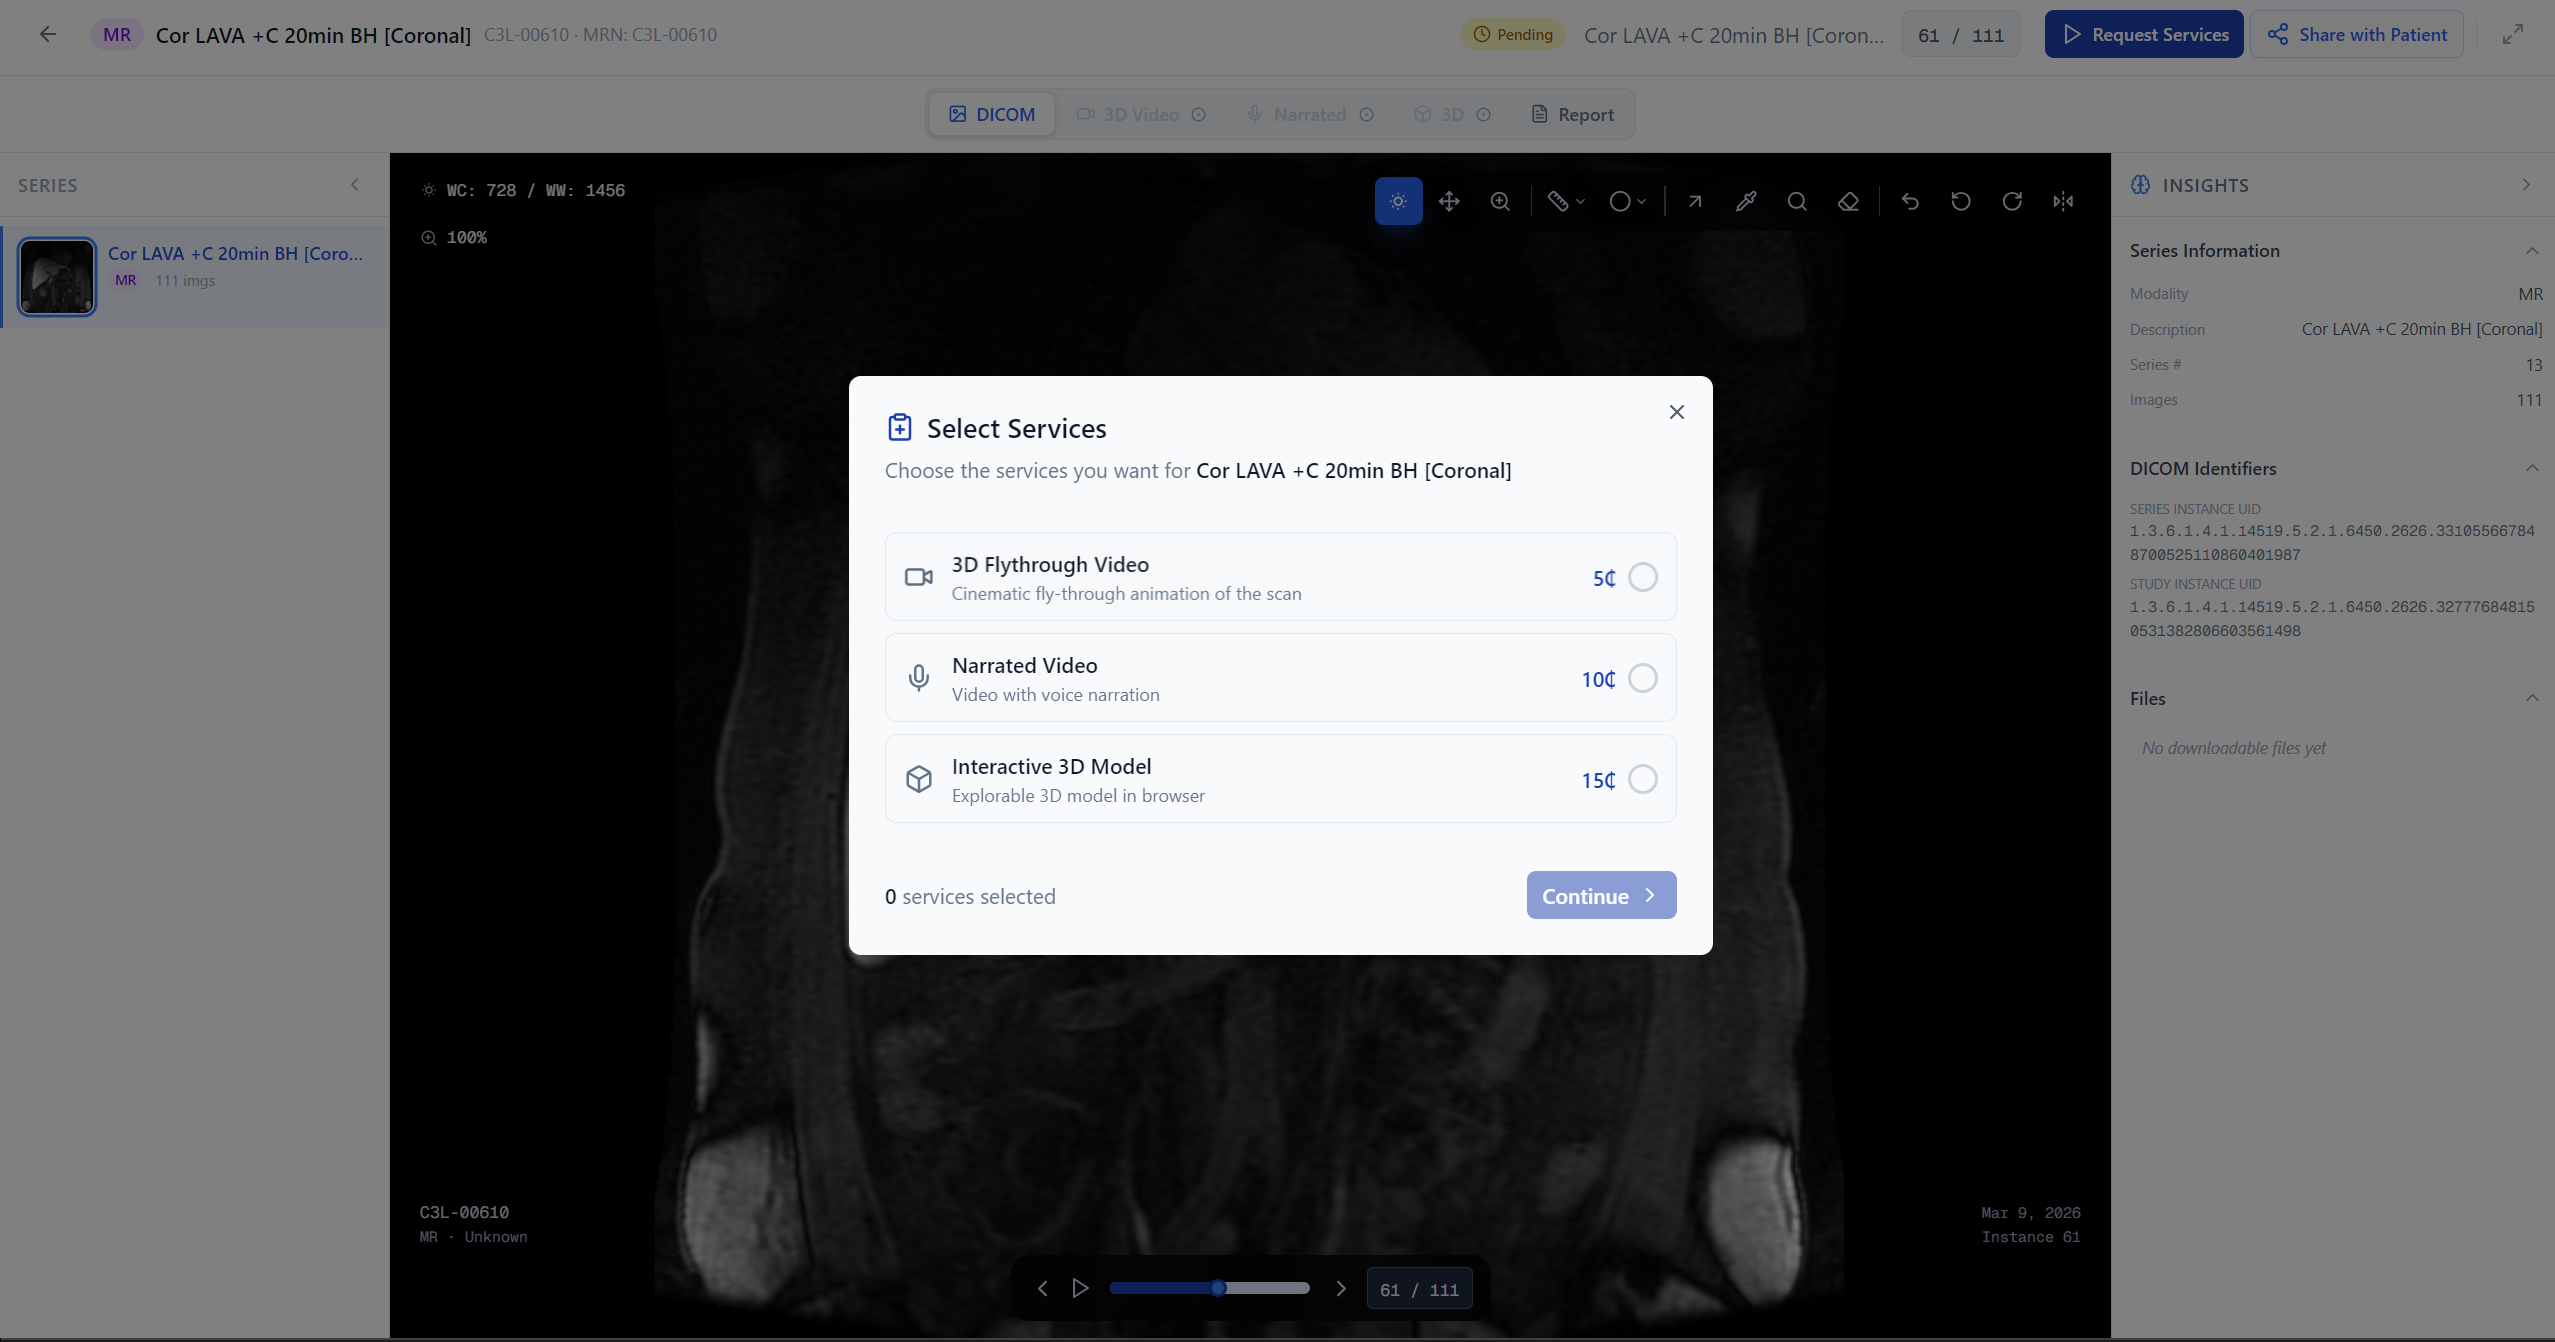
Transform raw scans into patient-friendly media including 3D flythroughs and AI-narrated explanations (23+ languages).
- Click "Request Services" on the Series Card
- Select desired features and choose a language for narration
- Submit request (credits are reserved until successful)
| Service | Credits |
|---|---|
| 3D Flythrough Video | 200 |
| Narrated Explanation | Varies |
| Interactive 3D Model | Varies |
Step 9
Step 9
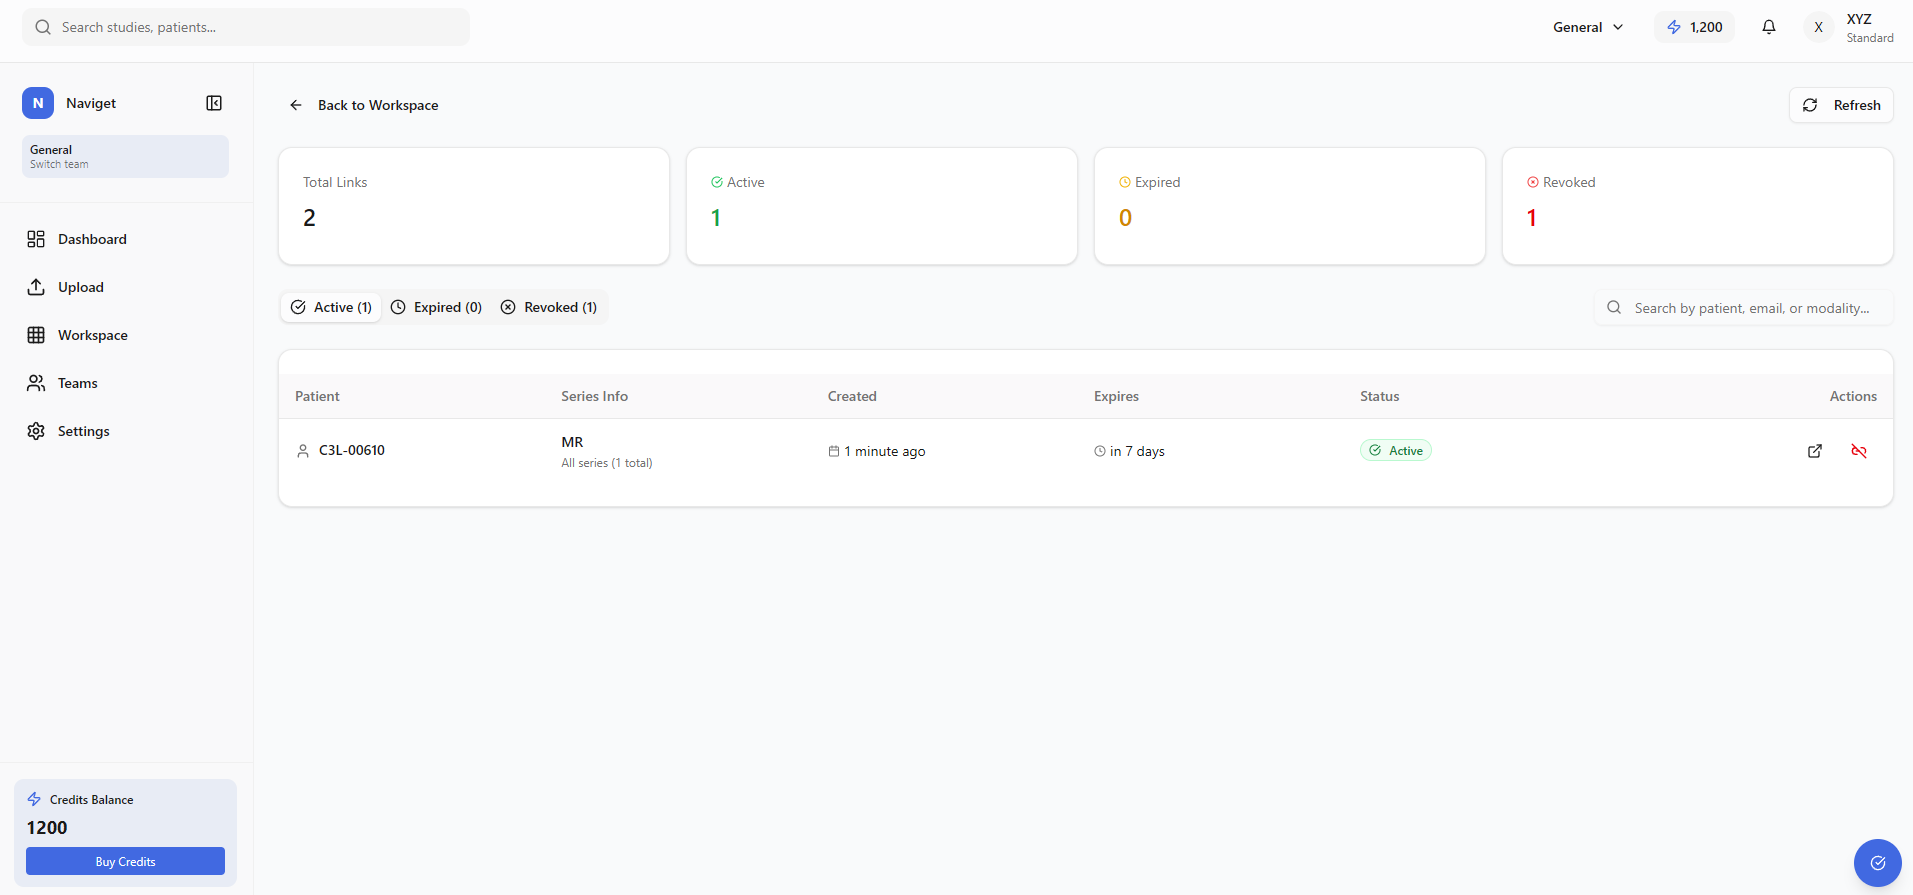
Click "Manage Links" from the Workspace to view all share links with real-time stats.
| Stats | Total, Active, Expired, and Revoked counts |
| Filtering | Filter by status or search by Patient Name/Email |
| Revoke | Kill any link instantly to cut off access immediately |
Step 10
Step 10
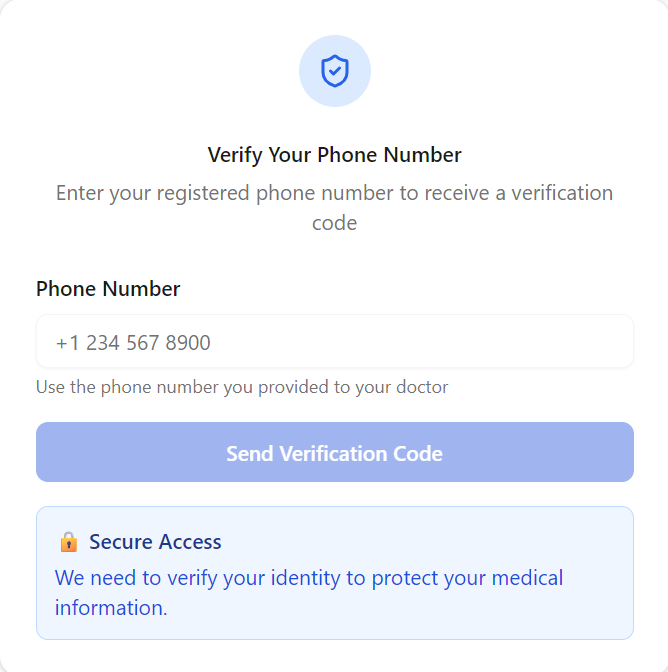
Experience from the patient's perspective:
- Access Link: Patient receives a secure email with a direct link.
- Verify Phone: Must match the record on file to receive SMS OTP.
- Enter OTP: Enter the 6-digit code to unlock the portal.
- Friendly View: Clinical terms are translated into plain language automatically.
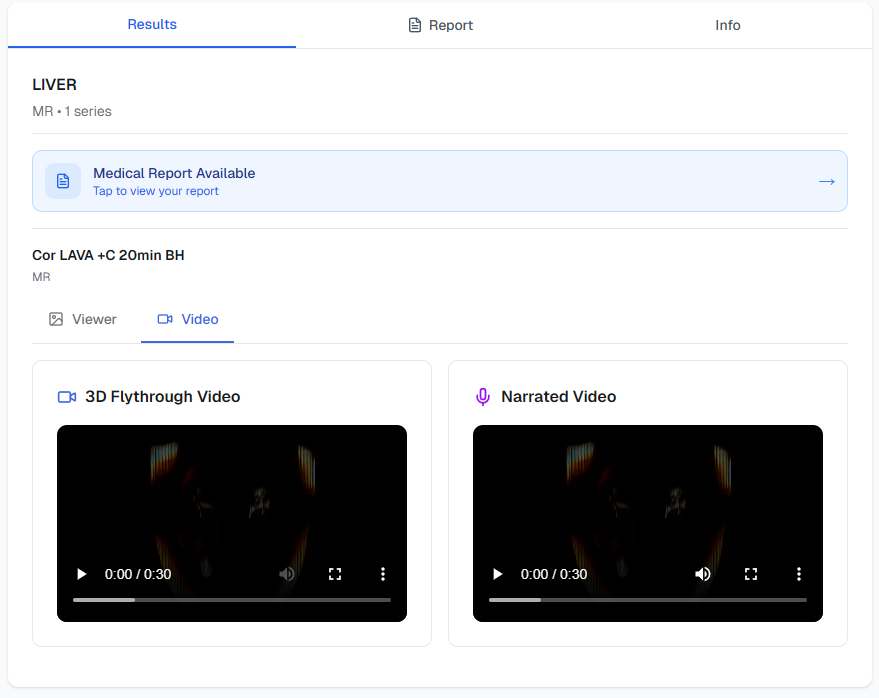
| Clinical Term | Friendly Term |
|---|---|
| Study / Series | Scan / View |
| Axial / Sagittal | Cross-section / Side view |
| Findings / Impression | Summary description |
Step 11
Step 11
Organize into teams and manage org-wide AI processing across your subscription plan.
Monthly Credit Quota
- Your plan includes a monthly credit quota that resets each billing cycle.
- Clinic plan: ~300 studies/month • Professional: ~1,500 studies/month.
- Remaining credits are shown in the sidebar. Upgrade anytime for more.
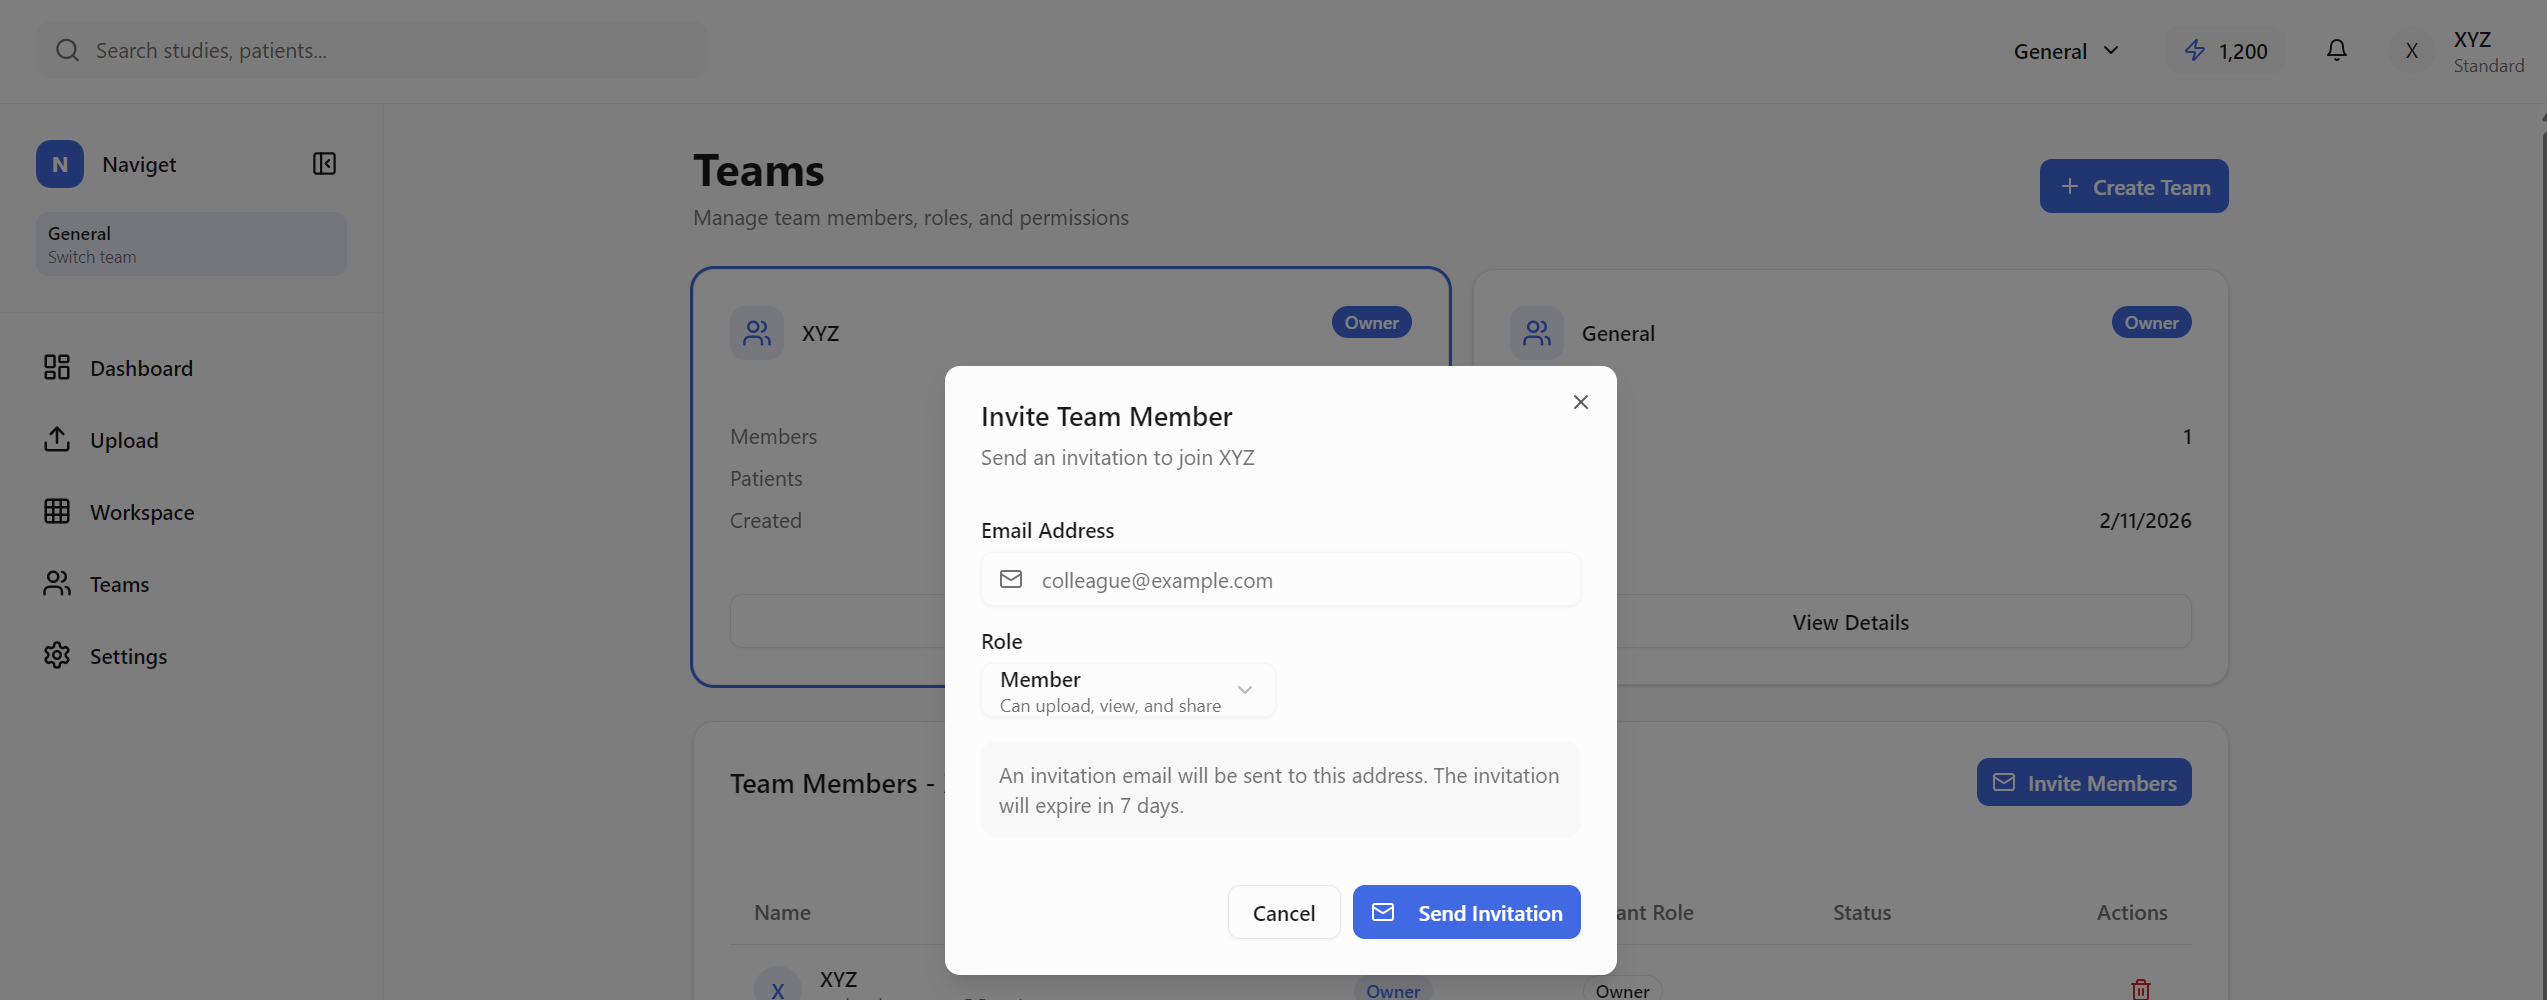
Team Roles & Hierarchy
- Owner: Full control. Can remove admins and members.
- Admin: Manage settings, invite members, manage billing. Can only remove members below their role.
- Member: Upload scans, view patients, request features.
Pending Invitations: Sent invitations appear with a "Pending" badge so you can track their status. You can revoke any pending invitation before it's accepted.
| Plan | Studies / month | Price |
|---|---|---|
| Clinic | ~300 studies/mo | ₹6,999/mo |
| Professional | ~1,500 studies/mo | ₹16,999/mo |
Step 12
Step 12
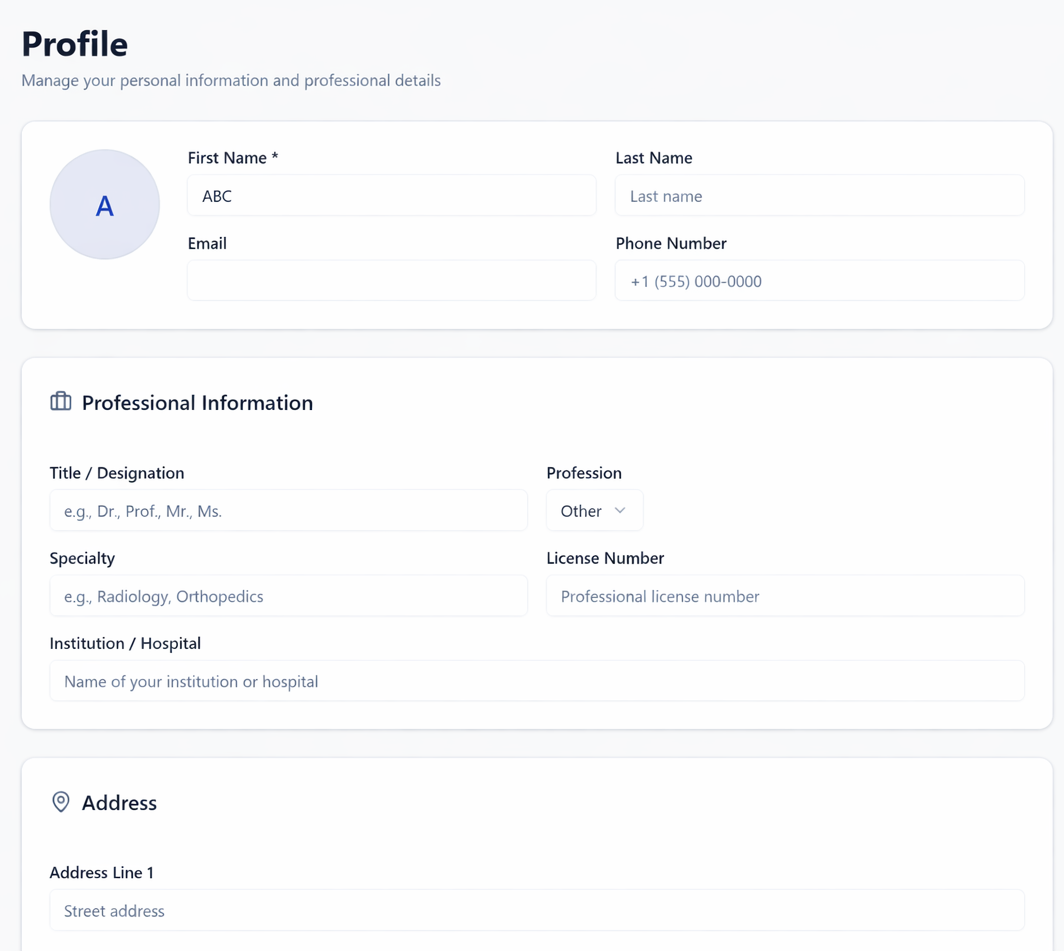
Manage your professional identity and security settings.
- Professional Info: Specialists should include license numbers for AI context.
- Security: Manage active sessions and update passwords.
- Billing: View transaction history and download invoices for packs.
Step 13
Step 13
Q: Upload stuck? Check if your files are valid DICOM format; refresh the workspace if analyzed but not appearing.
Q: Verification email missing? Check spam or resend via the security tab in profile settings.
Q: Patient access fail? Verify phone number matches share record exactly (check for country code).
Q: Used all your monthly credits? AI processing will pause until your quota resets next billing cycle. To continue immediately, upgrade to a higher plan from the billing page.
Support
Email: support@naviget.com
© 2026 Naviget Medical Imaging Platform. All rights reserved.